Screenprinting at Ryantown HQ
Posted by on Thursday 17th April, 2014We are often asked about how Rob’s screenprints are produced here at Ryantown HQ so we are pleased to give you a behind the scenes, step-by-step insight into this process!
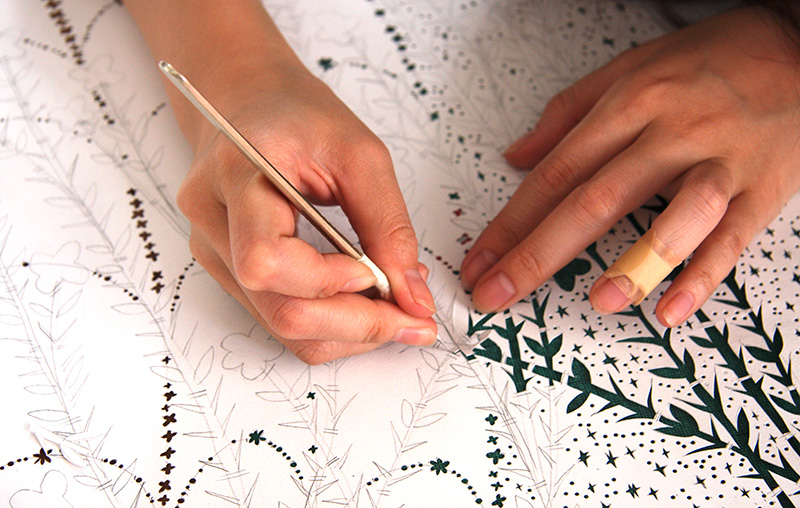
Rob’s screenprints are created directly from his papercuts. The length of time it takes to create one of Robs papercuts depends entirely on the size and intricacy of the piece – his drawings have been known to take many weeks to cut! Rob draws the picture on to a thin cutting paper and instructs us on which areas of the image to cut.
Once the drawing is cut, Rob will select the colour he would like the piece sprayed. The papercut is held in place by pinning it to foamboard, we then spray it very carefully in sections to ensure the entire surface is covered evenly. Spraying the papercut means the piece is ready to be mounted and framed but before this is done the image is transferred onto screen by Tom, our printer, to develop into the screenprint. The papercut is used as a positive when exposing it on to screen.


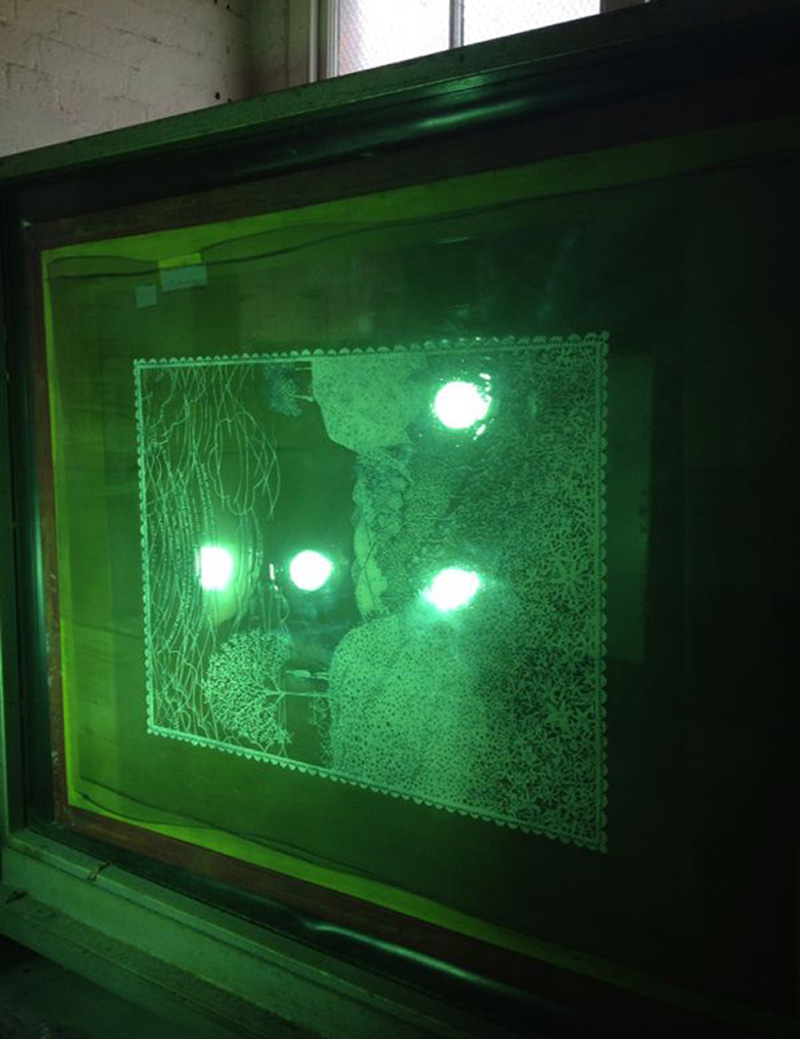
Tom starts by coating a silk screen with a photo-sensitive emulsion which reacts with UV light. When the light from the exposure unit shines on to the screen the papercut blocks out what Tom wants to print. He exposes it for about 10 minutes (again, this can vary depending on size) then hoses the screen down with water in our wash-out. The image left on the screen is the screenprint.
Working directly from the papercut ensures we keep the handmade look in Rob’s work, this is something that a digital version of an image wouldn’t necessarily give you.
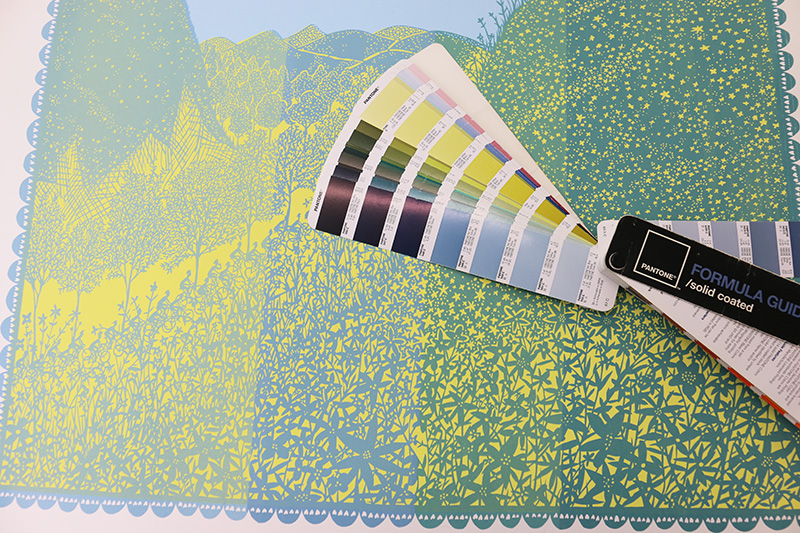
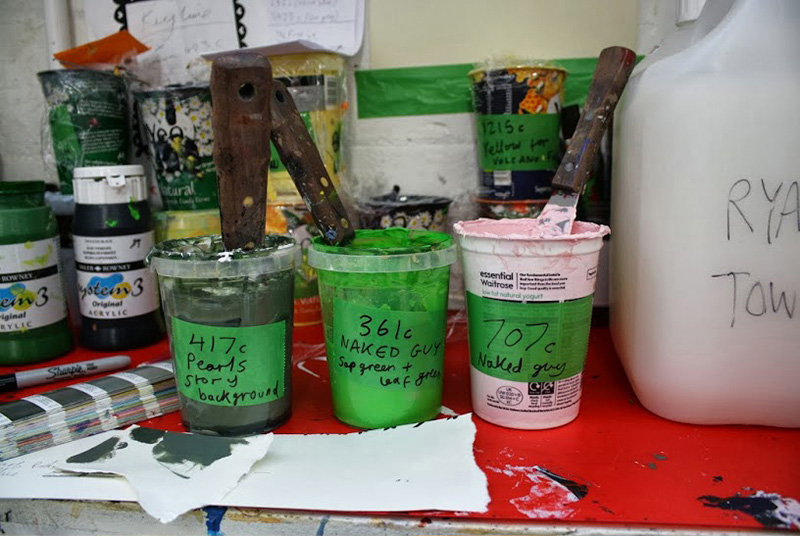
For the next stage in the process, Tom will have a discussion with Rob about the print, Rob will decide how may colours he might like the print to have, using a pantone book he will pick a variety of colours to try. Tom will then go back to the print studio and start mixing up the chosen colours, he will start to sample the print. This is possibly the most exciting part for everyone, the colour sampling stage often presents us with some interesting surprises as Tom mixes and matches a variety of different colours.
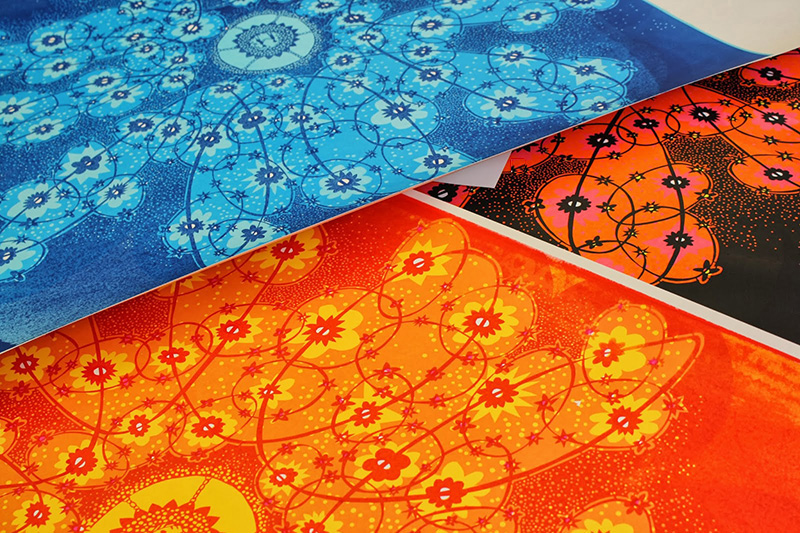
Once Tom has a collection of samples he will lay them all out next to each other on the studio table and Rob and the studio team will have a discussion to see what works best and what we can start to rule out. Quite often there is a clear winner! Once a final decision has been made Tom can begin screenprinting the final edition, Rob will instruct Tom on how many prints are to be in the edition.
Tom will then go back to the print studio and completely reset the print bed. He will thoroughly clean the bed so the paper won’t get dirty whilst printing, making sure he has enough ink mixed to complete the edition, he can begin!
To make the print Tom places the paper beneath the screen, putting a generous amount of ink on top of the screen and enough to cover the whole printable area. He uses a squeegee to pull the ink across the screen , the squeegee pushes ink into the mesh of the screen. This ink falls through the positive on screen reproducing the image on to paper.

Depending on the size of the print and the edition number, Tom may have help racking the prints after each pull, this will speed the process up. Large editions can often take more than one day to print, especially with multiple layers of colour in them.
When the screenprinting process is completely finished and the full edition of prints has been created they are left to dry overnight. This gives them time to flatten out so the paper doesn’t warp. Tom will then carefully check through all of the prints to make sure there are no imperfections and Rob then signs and numbers each print.
…and that’s how we screenprint at Ryantown HQ!!
Louise Renforth
Studio Assistant